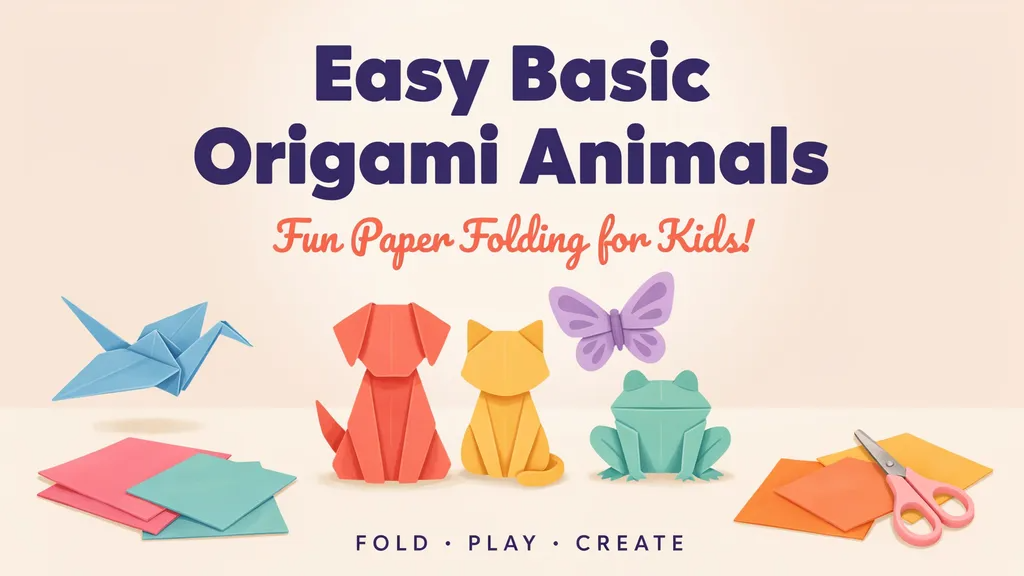

Paper folding is a magical craft. You start with a flat sheet of paper. With a few simple creases, it turns into a cute little animal! Making Basic Origami Animals is a wonderful way to spend an afternoon. I have folded hundreds of paper dogs and cats with my young cousins at the kitchen table. The giggles when a floppy paper ear finally pops into place are the best reward. You do not need fancy craft supplies or expensive tools. Just grab some regular printer paper, a pair of safety scissors, and a big dose of imagination.
This guide will show you how easy paper folding can be. We will break down every single crease into tiny, bite-sized steps. You do not need any prior crafting magic to get started. By the end of this journey, you will have a whole zoo of paper friends sitting on your desk. Let us fold our very first crease together and bring a flat piece of paper to life!
What Is Paper Folding Art?
Paper folding is an ancient craft from Japan. The word comes from two simple parts. “Ori” means folding, and “kami” means paper. People have practiced this quiet art for hundreds of years. It teaches us patience, focus, and gentle hand movements. When you work on basic origami animals, you learn how flat shapes transform into 3D objects. You do not use glue or tape in traditional folding. Every single shape relies only on crisp creases and careful folds. It feels like solving a cozy little puzzle with your fingertips.
Choosing the Right Paper for Beginners
Start your journey with standard square paper. Printer paper cut into equal sides works wonderfully too. Do not buy expensive specialty sheets right away. Thin paper folds much easier for small hands. Thick construction paper resists sharp creases and tears at the corners. Bright colors make your paper zoo look cheerful and alive. I always suggest practicing your very first basic origami animals using scrap paper or old magazine pages. This takes away the pressure of making mistakes on fancy paper.
Essential Folding Terms to Know
Before we build our paper creatures, let us learn the basic moves. A valley fold looks like a little bowl or a “V” shape. A mountain fold peaks upward like the top of a snowy hill. Creasing means pressing your fingernail firmly down along the folded edge. Crisp edges make your basic origami animals stand up tall and proud. Take your time with these simple motions. Good creases act as the strong bones for your little paper pets.
Folding a Cute Paper Puppy
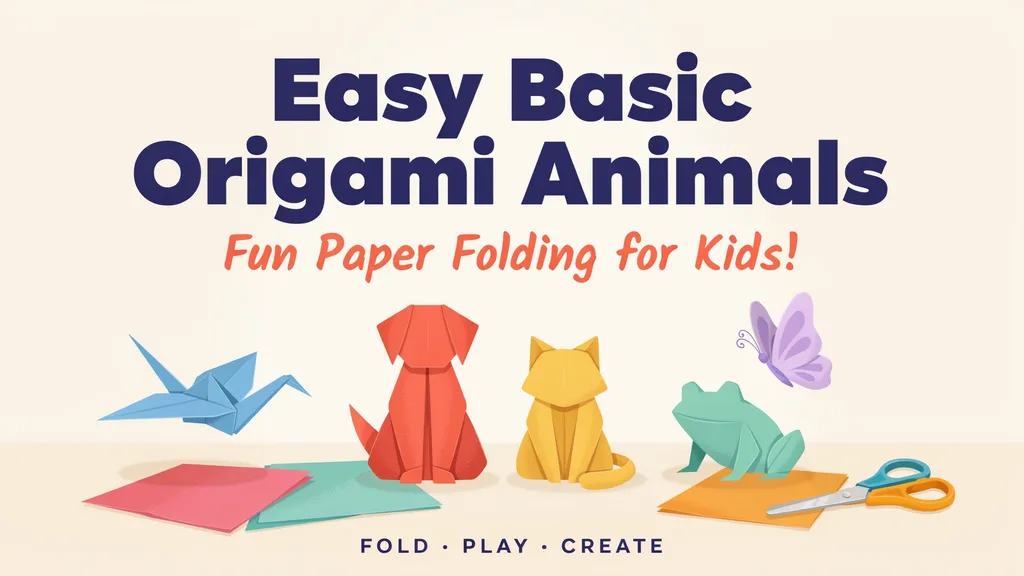
Let us start our paper zoo with a friendly puppy dog. Take a square sheet of paper and fold it in half diagonally to make a triangle. Point the wide bottom edge facing right toward you. Fold the top two corners down slightly to create floppy puppy ears. Fold the very bottom tip up a tiny bit to form a cute little nose. Drawing two dot eyes with a black marker completes your basic origami animals puppy. It sits so nicely on a bedroom bookshelf!
Crafting a Simple Origami Kitty Cat
Cats are mysterious and wonderful paper models. Start with a square sheet and fold it into a triangle just like the puppy. Turn the triangle upside down so the long flat edge sits on top. Fold the left and right bottom corners up at an angle to make pointy kitty ears. Flip your paper creation over to check the adorable front face. Adding whiskers with a colored pencil finishes one of your favorite basic origami animals. You can make a whole family of colorful cats in ten minutes.
Making a Happy Paper Frog
Jumping frogs bring instant joy to any craft table. Begin with a square paper and fold it horizontally and vertically to make clean grid lines. Push the side edges inward to collapse the paper into a neat smaller triangle. Fold the bottom flaps outward to form the little jumping legs. Press gently on the back of your frog to watch it spring forward across the floor. Kids adore playing with these basic origami animals during recess or rainy afternoons.
Creating a Tiny Paper Bird
Birds are graceful and surprisingly simple to shape. Fold your square paper in half to make a triangle, then unfold it back flat. Fold the side edges inward toward the center crease line like a delicious ice cream cone. Fold the tail section upward to give your bird a jaunty lift. A gentle pinch at the front creates a neat little beak. These winged basic origami animals look amazing hung from a bedroom ceiling on a piece of string.
Designing an Easy Paper Fox
Foxes look clever with their bright orange fur and pointy snouts. Start with a diagonal triangle fold. Fold the left and right corners down toward the bottom center point to form the face. Flip the model over and fold the nose tip upward slightly. Coloring the outer edges with an orange marker gives your fox a classic woodland look. Displaying your completed basic origami animals next to a small house plant creates a lovely woodland scene.
Fixing Common Folding Mistakes
Sometimes a paper crease goes slightly crooked. Do not worry at all when this happens. Simply unfold the paper flat and press it gently against a hard table surface. Re-fold along a slightly sharper line to fix the angle. Patience is the secret ingredient for crafting basic origami animals without getting frustrated. Every mistake is just another chance to practice making your fingers move more precisely next time.
Fun Ways to Display Your Paper Zoo
Once your animals are folded, find a special place to show them off. Line them up on your desk to keep you company while doing homework. Glue a few small paper pets onto a greeting card for a friend’s birthday. Setting up a little cardboard box as a diorama gives your basic origami animals a cozy artificial home. Sharing your handmade crafts spreads instant happiness to family members and school friends alike.
Complete Detailing Table
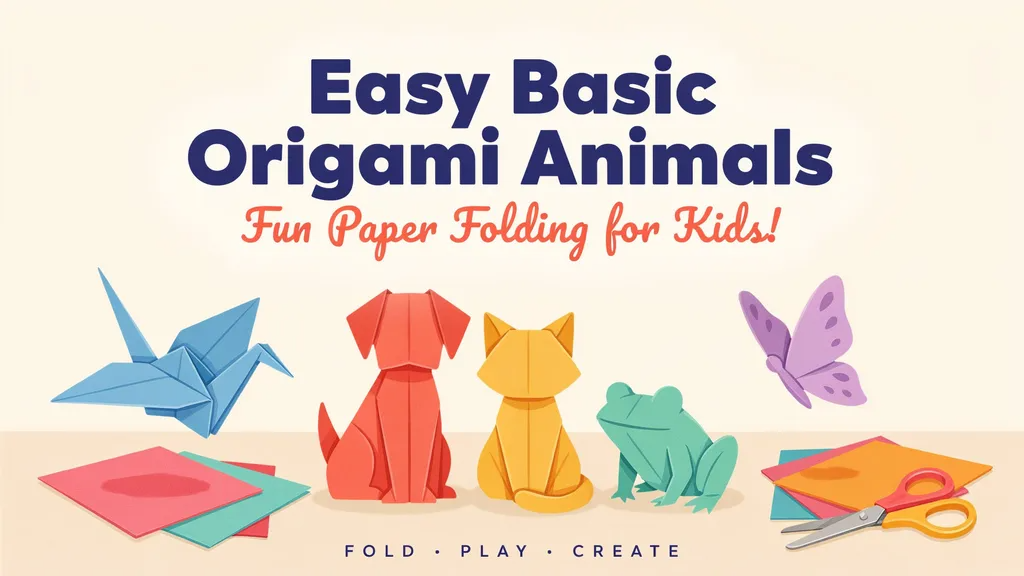
| Animal Model | Main Shape | Difficulty Level | Best Paper Type | Fun Feature |
| Paper Puppy | Triangle | Very Easy | Printer Paper | Floppy ears |
| Kitty Cat | Triangle | Very Easy | Colored Paper | Pointy ears |
| Jumping Frog | Collapsed Square | Medium | Glossy Paper | Spring action |
| Tiny Bird | Diamond Base | Easy | Lightweight Sheet | Lifted tail |
| Woodland Fox | Triangle Base | Easy | Orange Craft Paper | Sharp snout |
Frequently Asked Questions
What age is best to start paper folding?
Children around five years old can start making simple creases with adult help. Developing hand muscles helps kids handle basic origami animals with growing confidence and joy.
Do I need special expensive paper?
No, regular printer paper cut into equal squares works wonderfully. Standard sheets are thin enough to make clean folds for basic origami animals without tearing.
Why are my paper edges not crisp?
Run your fingernail firmly along every fold line. Sharp fingernail pressure gives basic origami animals a clean, professional shape that stands up nicely.
Can I use glue on my models?
Traditional folding uses zero glue or tape. Sticking strictly to clean creases makes crafting basic origami animals an authentic and fun challenge.
What if my paper tears while folding?
Just grab a fresh sheet and try again. Mistakes happen to everyone when practicing basic origami animals for the very first time.
How do I store my finished paper animals?
Keep them in a shallow cardboard box away from direct sunlight. Storing your basic origami animals safely prevents the paper colors from fading over time.
Conclusion
Paper folding is a relaxing, creative hobby that anyone can master with a little bit of practice. Creating basic origami animals brings wonderful satisfaction and sharpens your finger coordination. Grab a stack of colorful paper today and start building your very own tabletop wildlife reserve. Which cute paper animal will you fold first? Share your wonderful creations with a friend and enjoy the magic of paper art!